_______________________________________________________________
This Country Hutch Was Made In PSP 7.02 Page 3
_______________________________________________________________
_______________________________________________________________
Adding The Design To The Country Hutch Top
_______________________________________________________________
57.) Duplicate design layer and move layer to the top
rename it top design.
You should have something like this:
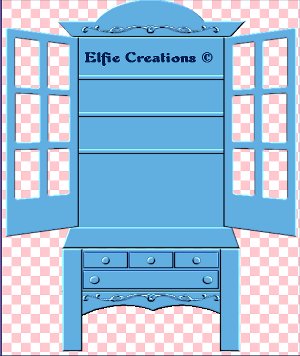
58.) Make the top layer active and then select outside the
top layer with the magic wand selections/invert and
selections/modify/contract by 5 selections/invert and
selections/float.
59.) While holding down the Ctrl key using the selections
tool on rectangle select the portion below the upper
most selections now you should have only the top edge
selected.
You should have something like this:
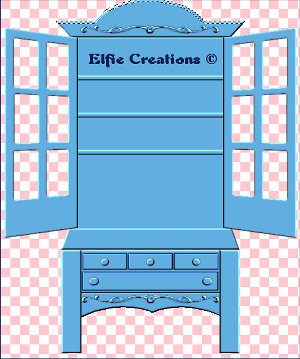
60.) Repeat inner bevel. Do not deselect.
61.) Go to Selections/modify/Expand by 10 or adjust to fit
just above the design, selections/float.
You should have something like this:
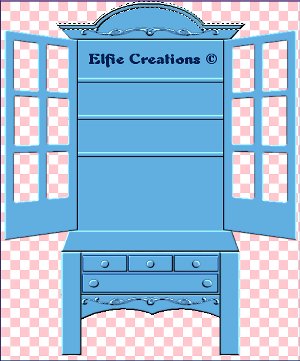
62.) Repeat inner bevel. deselect. save.
_______________________________________________________________
Adding The Design To The Sides Of The Top
_______________________________________________________________
63.) Add new raster layer and rename it design.
64.) Using the shapes tool set on elipse and forground is on,
draw a circle on the upper edge of the top next to the font
design. Repeat inner bevel and slight drop shadow.
65.) Add new raster layer and rename it design center.
66.) Make a circle in the center of the other one. repeat inner
bevel. hide all layers and merg/visible rename it design.
You should have something like this:
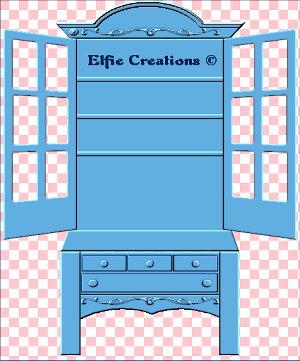
67.) Duplicate layer and mirror. hide all layers but the designs
and merge/visible. Re-name it design. Repeat the drop shadow.
Unhide layers. save
You should have something like this:
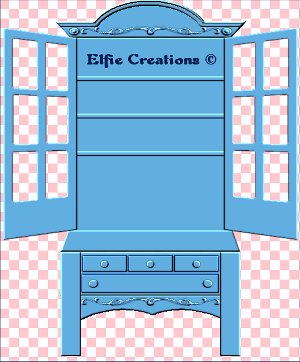
68.) Hide layer1 and Merge/Visible.
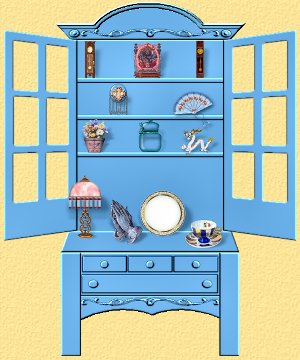
69.) Add new raster layer and put things on your shelfs with
a new raster layer for each thing. Save as a tube if you like.
70.) You may add a glass look to all panes by holding down the
shift key and selecting all the panes then go to Selection/
Expand by 1 and flood fill with white then lower layer opacity
to about 50 or create an insert with a mask and then paste into
each frame seperatly and Merge all visible and save as a tube
or fill layer 1 with a background and merge all flatten and save
as a jpg file.
You should have something like this:
_______________________________________________________________
FINISHED COUNTRY HUTCH
_______________________________________________________________