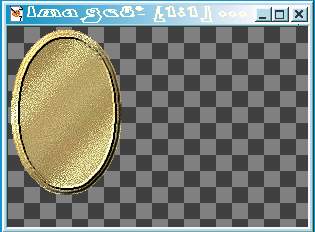
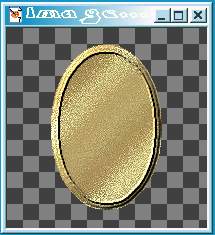
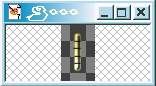
1.) Open the tubes you will need first.
Select the gembase-ec.psp, the gold-hinge-ec.psp and the
agate-gemstone-ec.psp
See Example Below.
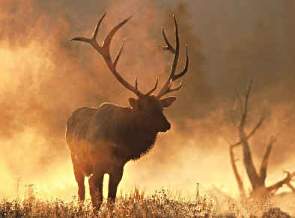
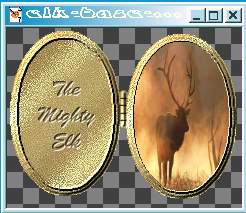
Open a picture you want inside your
locket I used this one of an elk
you may right-click on it and save it to your
hard drive where you can
open it in PSP to use inside your locket.
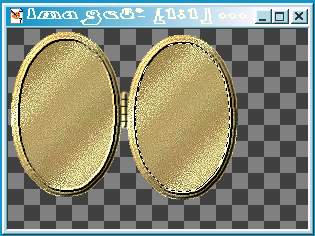
2.) Now we are going to put them together.
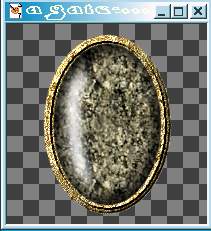
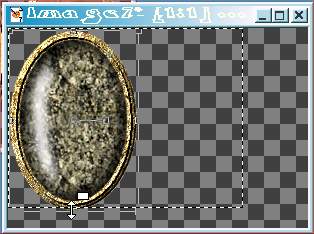
3.) Go to Windows/Duplicate the gembase
close the original image and go to
Image/Canvas Size and resize the canvas
to about 300x200.
This is how I did it.
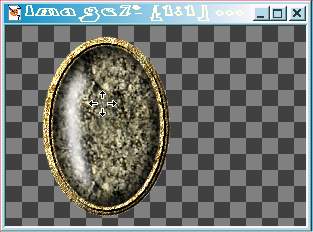
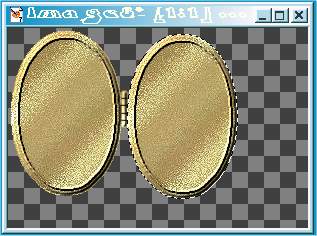
4.) Now use the mover tool to move your base
all the way to the left and to the top but
don't put it too the edge leave a bit of space
not too much.
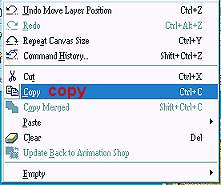
5.) Copy your gembase go to Edit/Copy.
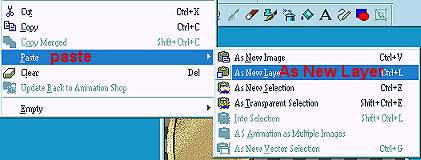
6.) Go to Edit/Past as a new Layer.
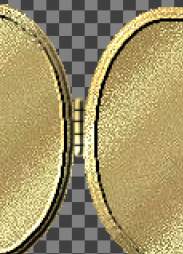
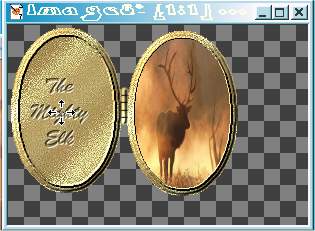
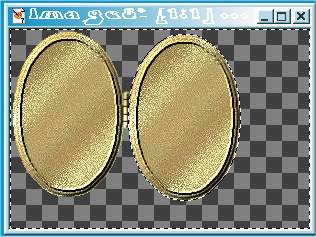
7.) Move this new image next to the other one
leaving a small gap between lining them up.
(Don't have to be to picky with this it will
animate ok as long as they are close!)
8.) Now click on your hinge and copy it.
9.) Click on your working graphic and go to Edit/Paste
as a new Layer, move it between
the two bases so that it just touches both
if you have one of the bases too close then
move it so it will let the hinge rest between them.
16.) Now click on the layer that contains the
left base to make it the active layer.
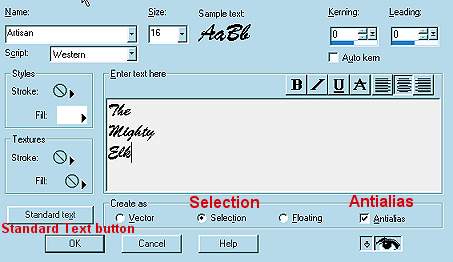
17.) Select the text tool
and click on it find the center of your
graphic and a large bold font
that will just fit inside of your graphic with
the text you decide to type in there.
18.) Make sure "Floating" is not selected that "Selection"
is and "Antialias" is selected.
Also that you have clicked on standard text.
19.) Don't worry if the text isn't in the exact center
as long as it is close and you know it
will fit in the center space your ok, we will
move the text later.
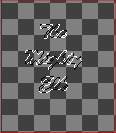
20.) You now have colorless letters with the marching
ants/marquee moving around them.
Do not deselect.
21.) Go to Colors/Adjust/Brightness -
Contrast with these settings:
Brightness = -4
Contrast = 0
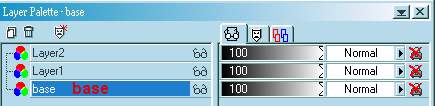
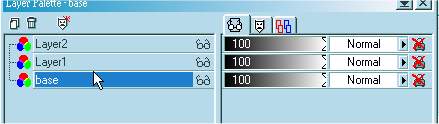
22.) Now go to the layer palette and right-click
on the the active layer and add a new
raster layer.
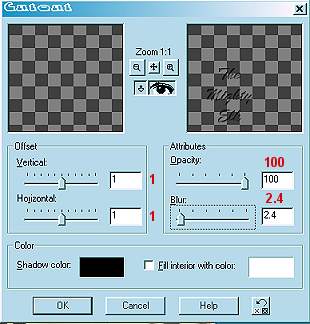
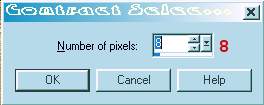
23.) Go to Effects/3D Effects/Cutout with these settings:
Offset:
Vertical = 1
Horizantal = 1
Color Shadow = Black (#000000, RGB 0,0,0)
Attributes:
Opacity = 100
Blur = 2.4
Fill interior with color box NOT checked.
24.) Go back to your layers palette and right
click on the layer you just put the cutout on
add a New layer same as before.
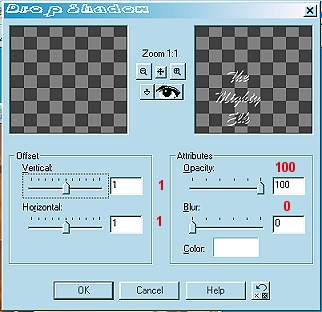
25.) Go to Effects/3D Effects/Drop
Shadow with these settings:
Offset:
Vertical = 1
Horizantal = 1
Color Shadow = White (#FFFFFF, RGB 255,255,255)
Attributes:
Opacity = 100
Blur = 0
26.) Go to Selection/Select None. (Deselect).
27.) You may adjust the layer opacity slide controls
on the Layer Palette to look the
way you want on your cutout and drop shadow layers
I put the drop shadow at
88 and the cutout layer at 90.
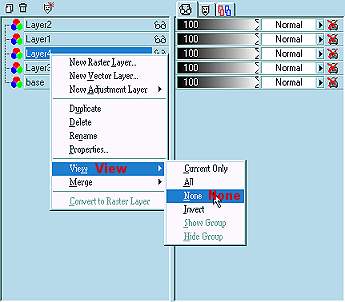
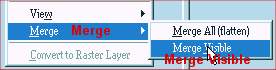
28.) Go to your layer palette and right-click on a layer
and scroll to view none, now you
will see nothing in your image file, click on the
glasses on only the drop shadow
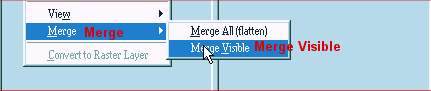
and cutout layers and right-click again on a layer
and scroll to Merge/Merge Visible.
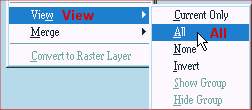
29.) Now you can right-click on the layers palette
again and scroll to View/All now you
see your image again.
30.) You can now use your mover tool and move
the text into the center of your image.
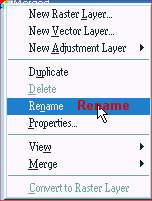
31.) Now Go to the layers palette again and right-click
scroll to Merge/Merge Visible.
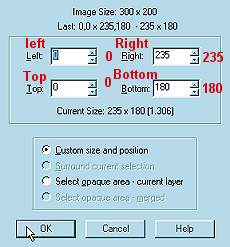
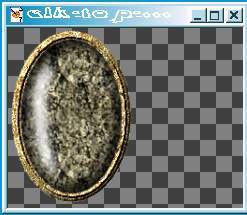
32.) Double click on your selections tool, now you have
a box with numbers on it we are
going to select only the part of your graphic with the
image in it to make it smaller and
not so much left over space. With these numbers set
your selections for:
Left = 0
Right = 235
Top = 0
Bottom = 180
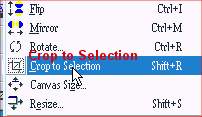
33.) Now you see that the marching ants/marquee is
only around your image to cut off all
this excess go to Image/Crop to Selection and now
your image has been cut down to
size.
34.) Save it, we are now done with this part of our locket animation.
35.) Click on your top image tube to make it active and
go to Edit/Copy now go back to
Edit/Paste as a new image, close your original if you
like we won't need it any more.
36.) Click on the new image you just created and go
to Image/Canvas Size and use the
same settings as the last image, move the image
away from or closer to the edge
just a bit with your mover tool and up on the top,
try to make it look as close to the
edge as your other image was.
37.) Now go to your selections tool and double click it again.
38.) Use the same settings as before.
39.) You may have to use the deformation tool
to resize it so it will fit inside the selection.
40.) Now go to Image/Crop to Selection as before,
save it and your done with this part of the locket.
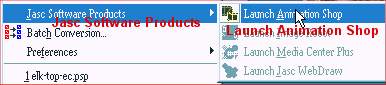
41.) Open your Animation Shop by clicking on File
scroll down the list to Jasc Software
Products and over the arrow to Launch Animation Shop.
42.) You can close your PSP if you like,
you won't need it for the rest of the tutorial.
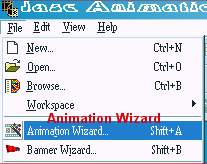
43.) In Animation Shop go to File/Animation Wizard.
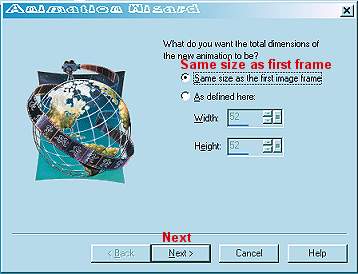
44.) When the window opens use these settings:
Same size as the first image frame is ticked
Click on Next.
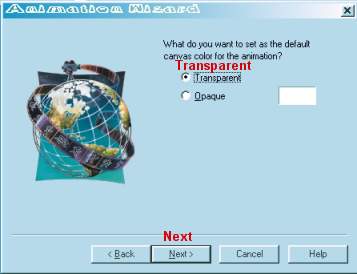
45.) Transparent is ticked
Click on Next.
46.) Upper left corner of the frame is ticked
With the Canvas Color is ticked
Scale frame to fit box is NOT checked
Click on Next.
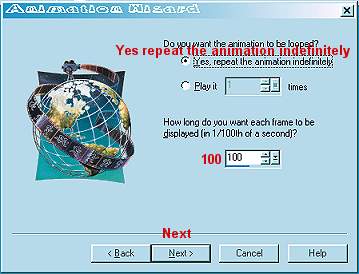
47.) Yes, repeat the animation indefinitely is ticked
How long do you want each frame to be displayed
(in 1/100th of a second)?
I put 100 in the box you may choose
a large number to make it slower or a
smaller number to make it faster, this is up to you,
it can be changed later.
Click on Next.
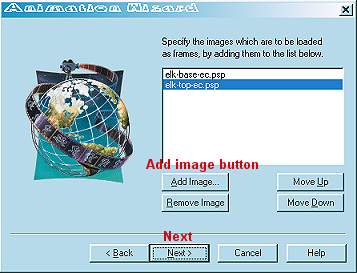
48.) Now you add your graphics you just made,
click on the button Add Image now
browse to where you save your images and
click on them both the base and
the top image.
Click on Next.
49.) Click on Finish.
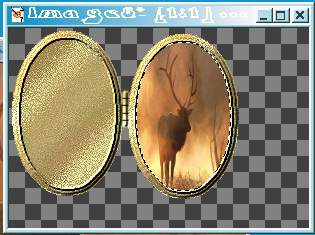
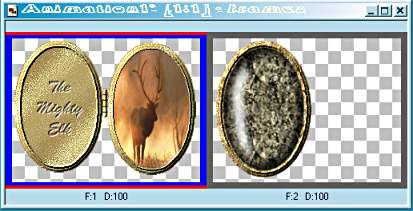
50.) Now you have a graphic with two frames in it
one frame has your base and the
other frame has your top in it, go to
View/Animation to see how it looks.
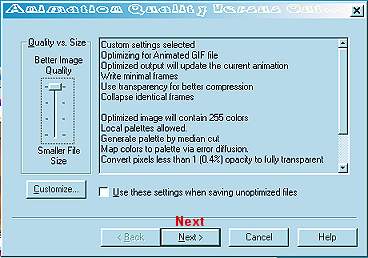
51.) If it looks good to you then save it, when you
save it you will get a window with a
bunch of settings just use the default setting.
See example below.
(Don't change anything unless you want or know
what they do. Make sure you don't
mess with them if you don't know what they are,
you may just ruin your great animation you just created.)
52.) If you would like to make this your graphic and
have your information on it go to each frame and
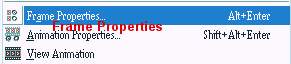
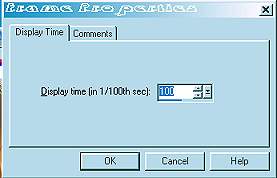
select it then right-click on the frame and scroll to
frames properties and select the comments tab this
is also where you can change the animation speed if
you think it's too slow or too fast change the number
in the box to a larger number will make it slower and a
smaller number will make it faster. When you click on the
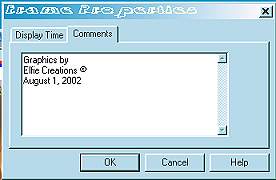
comments tab you can then type any information you
like in here and make sure you do this in both frames.
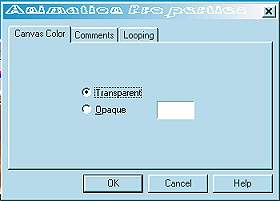
53,) Also right-click a frame and go to Animation Properties
and make sure the Transparent is ticked and then click
on the Comments tab and type in or paste the same
information as before then go to Ok and your done with this.
54.) Go to File/Save As.. Name it what you want
to call it the default is Animation and a number.
You can create your own parts and follow this
tutorial to put it together as my friend Andri
did here is her example of what she did with this
tutorial her picture is of her darling grandson
and she has changed the side it opens from, now
that's cleaver and ingenious!!
<<'-)
Good Job!
She has a few tutorials of her own check out hers
here.
Hope you enjoyed this tutorial and have fun!
If You think this one was good then you can add to it
by creating more with the other locket tops.
Click On Button
To Email Me!
Disclaimer:
This is my own idea any similarity to any other
Tutorial is purely coincidental.
Terms of Use:
Please feel free to use the tutorial final project
how ever you like.


 set at the default settings,
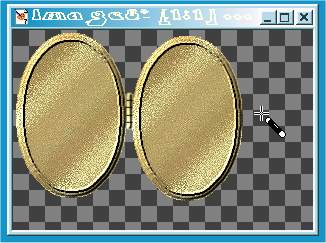
 and click on it find the center of your