_______________________________________________________________________
~ Making A Christmas Card In PSP 7, 8 or 9 ~
_______________________________________________________________________
You will need PSP for this tutorial to get a free trial
of the latest version of PSP to play with for 30 days
download it here.

________________________________________________________________________
Make The Main Card Rectangle
________________________________________________________________________
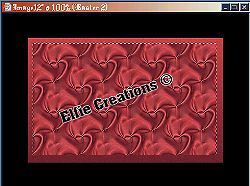
1.) Open new image Black 16 mil. colors size 500 x 350
background.
2.) Add new raster layer.
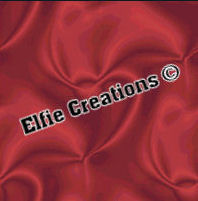
3.) Pick two colors you would like to use from your image,
I used = #B9CCCE & #315A63 for the example at the top,
for this one I used = #6e212b & #c84145.
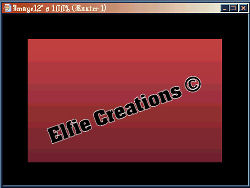
4.) Go to Background and set it to Gradient set at:
Light Color in Forground & Darker Color in Background.
Styles no color in Foreground Gradient in Background.
Style = Linear Gradient
Angle = 0
Repeats = 0
Invert Gradient box IS checked this depends you may not
have to check it we want the dark color on the bottom.
5.) Using the preset shapes tool set at:
Rectangle
Antialias IS checked
Line Width = 1
Line Style = Default (Solid).
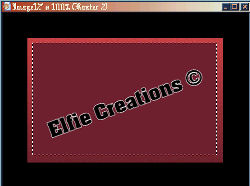
6.) Draw a rectangle in the center away from the edges about
40 or 50 in from the top and left side edge pull it out
so it's about even on the right and bottom sides.
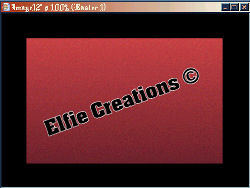
7.) Go to Effects/Noise/Add noise of 5% Uniform.
(PSP 8 - 9 = Adjust/Add/Remove Noise/Add Noise.)
This gets rid of the lines that a gradient seems to make.
________________________________________________________________________
Make The Next Card Rectangle
________________________________________________________________________
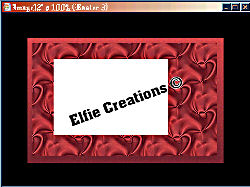
8.) Add new raster layer.
9.) Change Background to a solid color and draw a rectangle
inside your previous rectangle about 10 pixels in from the edges.
10.) Select with magic wand set at normal.
RGB Value
Tolerance = 0
Feather = 0
Sample Merged box NOT checked.
11.) Flood fill with the satin background instructions below,
so save your working image and minimize it and go do the
Satin Background tile below now flood fill your rectangle
with the background tile.
12.) Go to Colors/Adjust/Brightness/Contrast set at:
Brightness = -80
Contrast = 3.
Deselect = Selections/Select None.
I changed it to Brightness = -8 for the tutorial sample.
(You can skip this if you like.)
________________________________________________________________________
Make The Envelope
________________________________________________________________________
13.) Add new raster layer and name it Envelope.
14.) Draw a rectangle in white a lot smaller for your envelope.
15.) Add new raster layer name it envelope line.
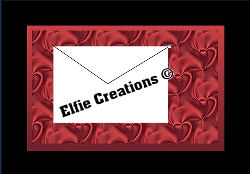
16.) Go to Styles/Forground and select your dark color or use black.
(Don't hold down the shift key in PSP 9.)
With your draw tool set at: Type = Single Line, Width = 1
Line Style =
Solid (Default)
Antialias box IS checked
create as vector box NOT checked
Close Path box NOT checked
hold down the shift key and draw a line from the top left corner
to about the center of your white rectangle then go back up to the
right top corner. Don't worry if you go over the image you can use
your magic wand and make the envelope rectangle layer active and
select outside your envelope shape with your magic wand and go to
the envelope line layer and make it active and hit the delete key
on your keyboard or go to Edit/Clear.

17.) Make your envelope line active again and go to Effects/3D Effects/Drop
Shadow set at:
Vert. = 1
Horiz. = -5
Opacity = 80
Blur = 5
________________________________________________________________________
Make The Card
________________________________________________________________________
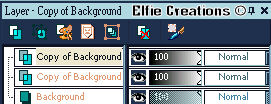
18.) Duplicate your envelope layer and rename it Card move layer
to the top by going to Layers/Arange/Bring to Top or drag it
to the top of the layers palette.
19.) Hide all layers except the envelope and the line layers and
Merge/Merge Visible you can rename this layer Envelope.
Un-hide all layers.
20.) Make the Envelope layer active and go to Image/Rotate
and rotate it Left
Free = 15
All layers box NOT checked.
21.) Make your Card layer active and select it with your magic wand.
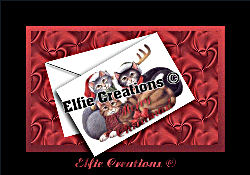
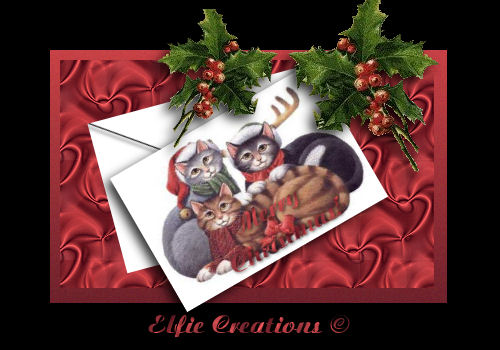
22.) You can either just add tubes to your card and a greeting
or find an image and copy and paste it into the selection
like I did, if you do that then add a new raster layer for
your greeting. Deselect.
__________________________________________________________________________________
Adding The Text
__________________________________________________________________________________
23.) Add a new raster layer and choose a font you like and set
the color of your choice or a pattern anything you like and
type in your greeting.
24.) I used a solid color for my finished image above then I went to
Effects/Plug-in Filters/Greg's Filter Factory Vol. II/Pool Shadow
set at Default
but for this tutorial I just used my satin background tile.
25.) Then repeat the drop shadow only change the Vert. & Horiz. to 1.
Deselect.
Hide all layers and Merge/Visible rename it Card and unhide all
layers and rotate this layer as you did the envelope layer only
set it to 30 and move it a bit over so you can see the envelope
behind it.
Add a drop shadow set at:
Vert. = 5
Horiz. = -5
Opacity = 80
Blur = 15. Deselect.
26.) Add a new raster layer and place decoration tubes of your choice
on this layer where you would like them.
27.) You may add drop shadows to your tubes.
28.) Go to Layers/Merge/Merge all flatten.
29.) Save as.....name it.

__________________________________________________________________________________
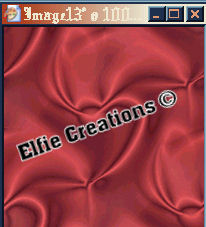
Satin Background
__________________________________________________________________________________
1.) Open new image size 200 x 200 transparent 16 mil. colors.
2.) Flood fill with your gradient Forground color:
off white (#F5F7FF RGB 245,247,255)
(Use the colors from your image)
Background color: light gray (#B8C7D2 RGB 184,199,210)
(Use a color from image if you like)
Settings at:
Angle = 320
Repeats = 5
Style = Linear Gradient
3.) Go to Sharpen/UnSharp Mask set at:
(PSP 8 - 9 = Adjust/Sharpen/UnSharp Mask.)
Radius = 3.00
Strength = 55
Clipping = 1
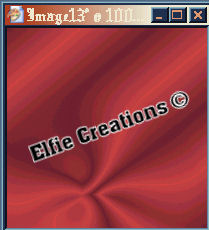
4.) Go to Effects/Geometric Effects/Warp set at:
(PSP 8 - 9 = Effects/Distortion Effects/Warp.)
Horizontal = -13
Vertical = 62
Size = 54
Strength = -82
5.) Go to Image/Flip.
6.) Repeat 4 Warp.
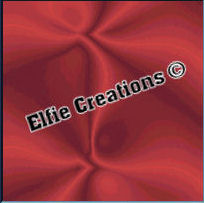
7.) Go to Effects/Geometric Effects/Wave set at:
Horizontal displacement:
Amplitude = 25
Wavelenth = 70
Amplitude = 25
Wavelength = 70
(PSP 8 - 9 = Effects/Distortion Effects/Wave set at:
Amplitude = 25
Wavelenth = 70
Amplitude = 25
Wavelength = 70
Repeat is ticked.)
8.) Go to Effects/Plug-in Filter Efffects/Almathera/Warper set at:
Warp factor = -7
Twirl = 50
Transparency = 100
(PSP 8 - 9 = Transparency = 0.)
(If you don't have this one you can skip it.)
9.) Go to Effects/Artistic Effects/Chrome with these settings:
Flaws = 3
Brightness = 50
Color = not needed
Use Original Color box IS checked
You can skip this step
I decided to skip it for this tut.
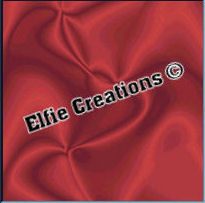
10.) Go to Effects/Geometric Effects/Twirl set at:
Degrees = 111
11.) Go to Effects/Plug-in Filters/Simple/Quick Tile.
12.) Go to Layers Palette/Merge/Merge All (flaten).
13.) Repeat 3 Unsharp Mask.
14.) Go to Effects/Enhance Photo/Clarify set at:
Strength of effect = 5.
(PSP 8 - 9 = Adjust/Brightness and Contrast/Clarify
set the same as above.)
15.) I resized mine to 100 x 100 and repeat the UnSharp Mask then
Save as....name it.
Return to your original working image we left off at 11
so finish this and go from there.
Note: You can color this one with Harry's filters or
use Colorize.
If you used two colors from your image you won't need
to color it.
_______________________________________________________
Animate It with Bling Bling
_______________________________________________________
1.) Duplicate your finished merged image and resize to about 250w.
2.) Go to layers and duplicate it about two times so you have
a total of 3 layers.
3.) Hide the first two layers and make the last one the
active layer by selecting it.
4.) Select a section of your image that you want to be sparkled
with your lasso tool set at Point to Point feather= 0
and go to Effects/Noise Add 25% Uniform or Random it's
up to you what you like best.
You can change the percentage for each layer if you like.
(PSP 8 - 9 = Adjust/Add/Remove Noise/Add Noise.
Set at Point to Point feather can be set at any
where from 5 to 7.)
5.) Hide this layer and select the next one up.
6.) Repeat 4 only set it to 35%.
7.) Hide this layer and select the last one up.
8.) Repeat 4 only set it to 45%. Deselect.
9.) Unhide all layers and save as a PSP image
and open Animation Shop.
10.) Now go to Files and find your image and open it.
11.) Go to Edit/Select All and go to Animation/Frame properties
and set it to 10 and you can click on the comments and type
in the URL for this tut if you like and go to Animation/Animation
Properties the first tab it doesn't matter if it's Transparent
or black ticked, click on the Looping tab and tick the repeat the
animation indefinitely.
12.) Save as......name it. You may reisize it smaller if you like also!
_____________________________________________________________________________