_______________________________________________________________________
Making A Collectors Plate In PSP 8
_______________________________________________________________________
This tutorial was done in PSP 8.
You will need PSP for this tutorial to get a free
trial to play with for 30 days
download it here.

You will need Super Blade Pro by Flaming Pear
for this tutorial to get a free trial to play
with for 15 days
check it out here.

You will also need my Super Blade Pro Preset
for this tutorial to get them click
here to download.
Sorry, but I could not do this one in PSP 7 because
PSP 7 does not have the rotating paint brushes like
PSP 8 & 9 do.
The only way you could do the painting on the edges
is to rotate the whole layer and it's not easy I know
I tried it, LOL!
You can skip that part and just have plain plates in
PSP 7 if you like or use your magic wand set at normal
and select outside the plate then go to Selection/Invert
then go to Selections contract by about 50 or less of
the rim and flood fill with a pattern.
________________________________________________________________________
Make the Checked Rim for the Plate
________________________________________________________________________
1.) Open new image transparent 16 mil. colors size 350 x 350,
rename layer 1 background. Add new layer name it checks1.
2.) Using the Shapes tool set on Ellipse only Anti-alias box IS
checked line style = Solid, Width = 1.00, Join = Miter, Miter
Limit = 15.
3.) Draw a circle in the center of your image and select it with
your magic wand set on Mode = Replace, Match Mode = RGB Value,
Tolerance = 0, Sample Merged box NOT checked, Feather = 0,
Anti-alias box NOT checked.
4.) Go to Selections/ Modify/Contract by 25.
5.) Go to Selections/Invert and click on the rim of the plate image.
6.) Using the Paint brush tool set at:
Square
Shape = Square
Size = 25
Hardness = 100
Step = 200
Density = 100
Thickness = 100
Rotation = 180
Opacity = 100
Blend Mode = Normal
NO boxes are checked.
Use the color red = #C00000
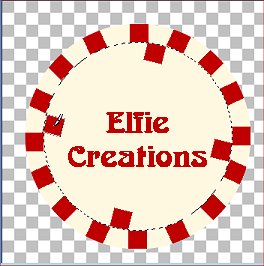
7.) Paint a checked square on the top, bottom, and both sides.
8.) Now change the angle of the paint brush to 15 and paint
another check to the right of all your others, evenly spaced.
9.) Repeat 8 only make the angle 26.
10.) Repeat 9 only make the angle 45.
11.) Repeat 10 only make the angle 65.
Selections/Select None = Deselect.
12.) Go to your Layer Palette and add new raster layer
name it checks2.
13.) Use the magic wand to select the the outside of your plate
and go to Selections/Invert and Selections/Modify/Contract by 25.
14.) Start out by using the Paint brush tool as before only start
with the rotation at 14, paint four squares around your image
where they are level with the marquee/marching ants and in
between the red squares of the first row.
15.) Repeat 14 only make the angle 26.
16.) Repeat 15 only make the angle 45.
17.) Repeat 16 only make the angle 65.
18.) Repeat 17 only make the angle 85.
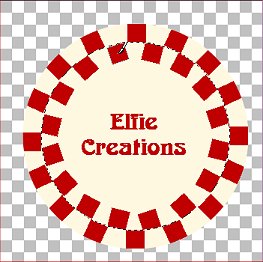
19.) Now some of these are not going to be even so that's the way
it is, if you don't like it redo it, LOL! Till it's right.
Deselect.
____________________________________________________________________________________
Adding The Picture
____________________________________________________________________________________
20.) Add new raster layer name it picture.
21.) Make layer1 the active layer by going to the Layer Palette
and selecting that layer.
22.) Repeat 13 only this time contract by 65.

23.) Go back to layer3 your picture layer and make it active.
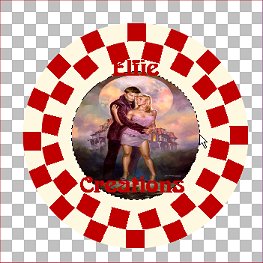
24.) Now find a picture you like and go to edit/copy and edit/
paste into selection. I used the one below you may right click
on it and save it to your PC to use if you like.Deselect.

25.) Go to the Layer Palette and hide the background layer by clicking
on the eye and then right click any other layer and scroll down the
list to Merge/Merge Visible. Rename layer Plate.
____________________________________________________________________________________
Adding The Super Blade Pro Bevel
____________________________________________________________________________________
26.) Make the Merged layer active using the magic wand select outside
the plate and go to Selections/Invert.
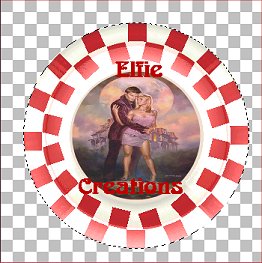
27.) Now go to Effects/Plug-ins/Flaming Pear/Super Blade Pro/Preset =
plate-ec.q5q. Deselect.
28.) Now you can save it as a tube or a gif or put a background color
or pattern behind it and save as a jpg. Save as.... name it.
29.) If you would like to make more than one plate do all but the picture
and save as plate1.psp this is your template image just save with the
selection for the picture with out the picture in it this way you can
duplicate the image and use the duplicate then paste a picture into the
selection of the duplicate. So you should have three layers picture on
the top, plate under that and background as the bottom layer.
30.) When you want to use the template image open it in PSP and go to
Widow/Duplicate if your going to do more of these then duplicate it as
many times as the plates you want to make now close the original image
and select the first duplicate and repeat 24 Deselect and repeat 28.
_____________________________________________________________________________
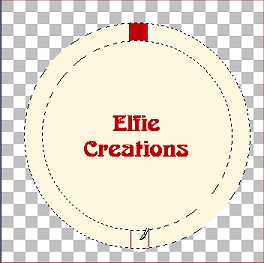
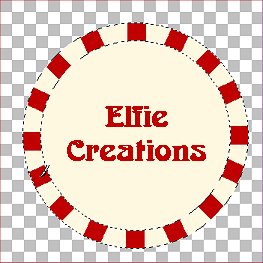
Now you have just created a pretty Collectors Plate.
Alternate plate if you are using PSP7 with a pattern.