|
|
|


^You May Start The Tutorial By
|
|
___________________________________________________
Making A Lacy Background For Your Web Pages Or Stationery In PSP ___________________________________________________ This tutorial was created in PSP version 7.02.
You may download th latest version of PSP for
You will also need the Plug-in Filter Factory A
And you will need the Plug-in Filter FM Tools for
And you will need the Plug-in Filter Simple go
NOTE: Filters use a format originally designed
You may be able to adapt this tutorial for other
Disclaimer: ___________________________________________________ Make A Lacy Background ___________________________________________________
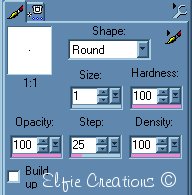
1.) Open new image in a color from your image
2.) Select another color from your image and using 3.) Scribble all over your image.

You now should have something like this. 4.) Go to Effects/Plug-in Fiters/Simple/Diamonds.

You now should have something like this. 5.) Go to Effects/Plug-in Fiters/Simple/Pizza Slice Mirror.

You now should have something like this.
6.) Go to Effects/Plug-in Filters/FM Tile
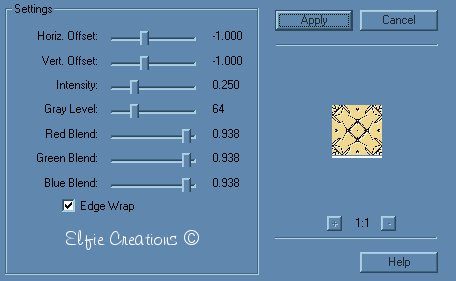

You now should have something like this.
7.) Un-Sharp Mask at 3.00, 55, 1.
8.) Go to Effects/Artistic Effects/Contours

You now should have something like this.
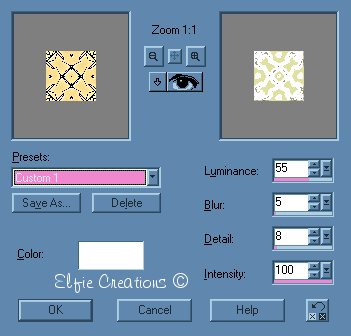
9.) Go to Effects/Plug-in Filters/Filter
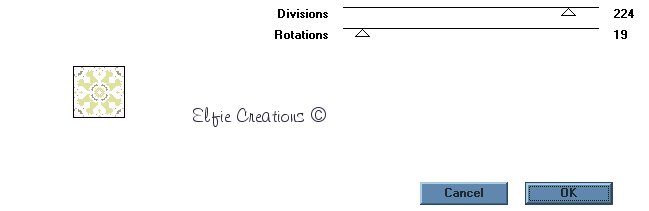

You now should have something like this. 10.) Repeat 6 Blend Emboss. 10.) Save as..... name it.

This should be something like what you end up with. Hope you enjoyed this little tutorial and had fun! ___________________________________________________
sound by clicking on the button somewhere on the top of this page.
|